

How to animate any SVG image for your UI design
This will show you how to animate any component of an SVG image the way you want and integrate it into your UI design.


Gone are the days when websites & applications used to be like newspapers, simple text on solid colors with no interactivity. Today building things is a lot faster, a lot easier and more importantly, our devices can do lot more processing to load some really attractive user interfaces quickly. One big element that helps in catching eye balls is anything that 'moves', like animations. A bit common they are today but still largely limited to pre-coded, navigation related ones.
Animating an SVG file ensures responsiveness is maintained across all platforms. So how about animating them the way you want? Trust me it's a LOT simpler than it seems!
Prerequisites
So let's get started right away. The method is pretty generic and can be used across different frameworks, all you need is your image to be an SVG file. In this example I'll show it in a simple React app while using Tailwind CSS to make things quicker & easier. And hey, if you don't know about Tailwind, please do check it out, it makes things so much easier while still allowing customizations.
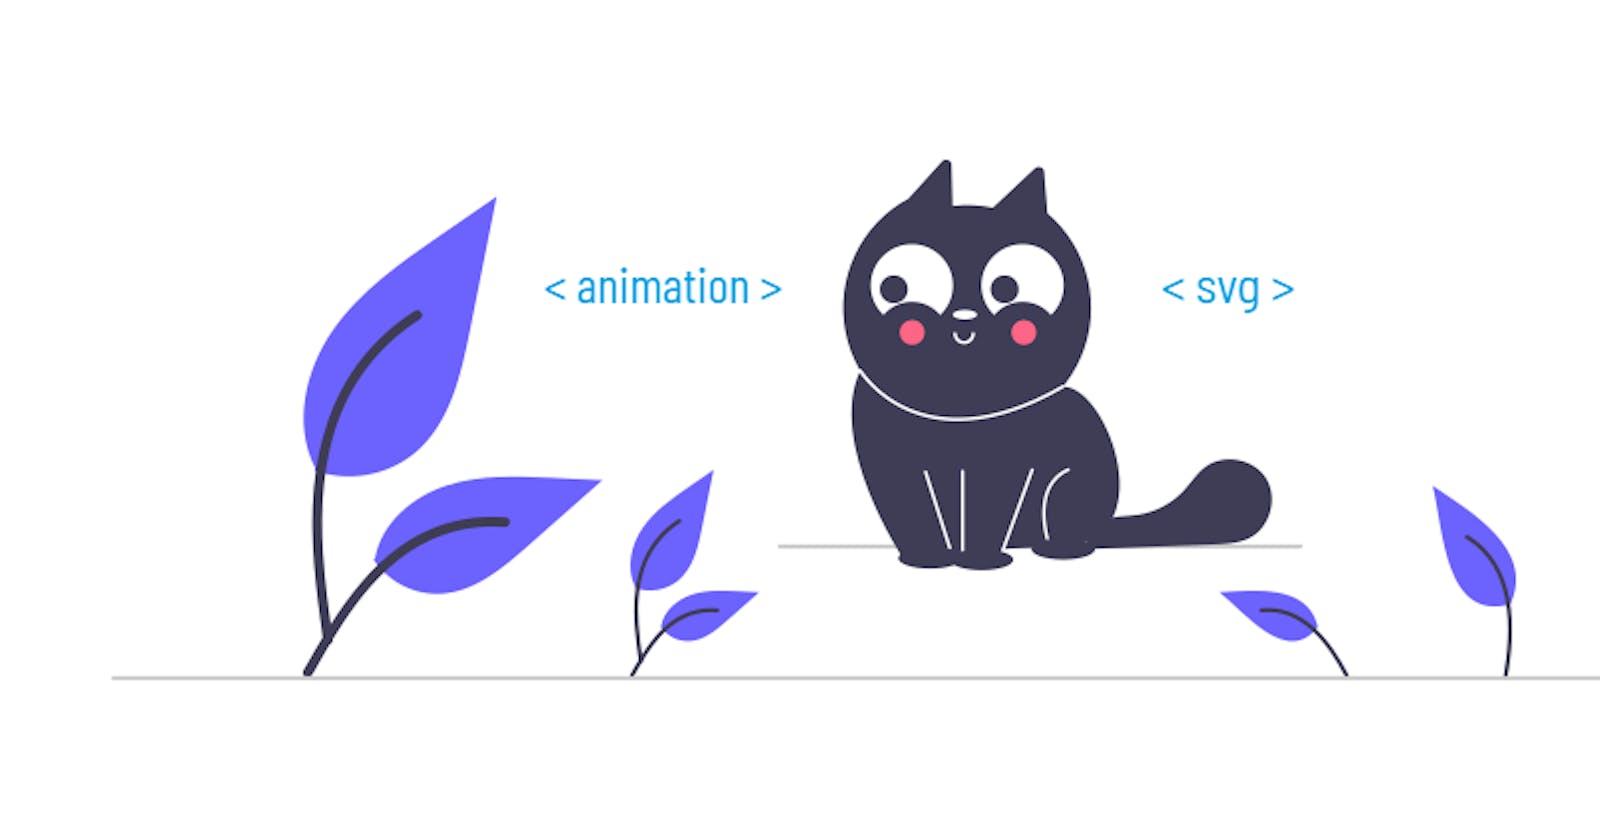
So first we will need an SVG file. For this example I'll just take one from an amazing open-source hub of stock SVG images, called UnDraw (undraw.co). Search for an image titled 'Hello' and you'll find the one below.

Analyze the image
Now, think about what part you want to animate here. I think it'll be really cool if we could animate his hand in a way that it looks like he's waving a hello to us? Yes we can do that!
Now a short introduction to SVG files that I wanna let you know about is that these are a combination of shapes which together form an image. So every single shape you see in this image is an individual part, and thus can be selected and modified and yes, animated too!

First open your SVG image in a browser, right click and then select 'Inspect' option. It'll open up the console and you'll see bunch of code there. All this code is actually what makes up the individual components of this SVG image, and the combined form of it all is what you see in the browser as a complete picture.
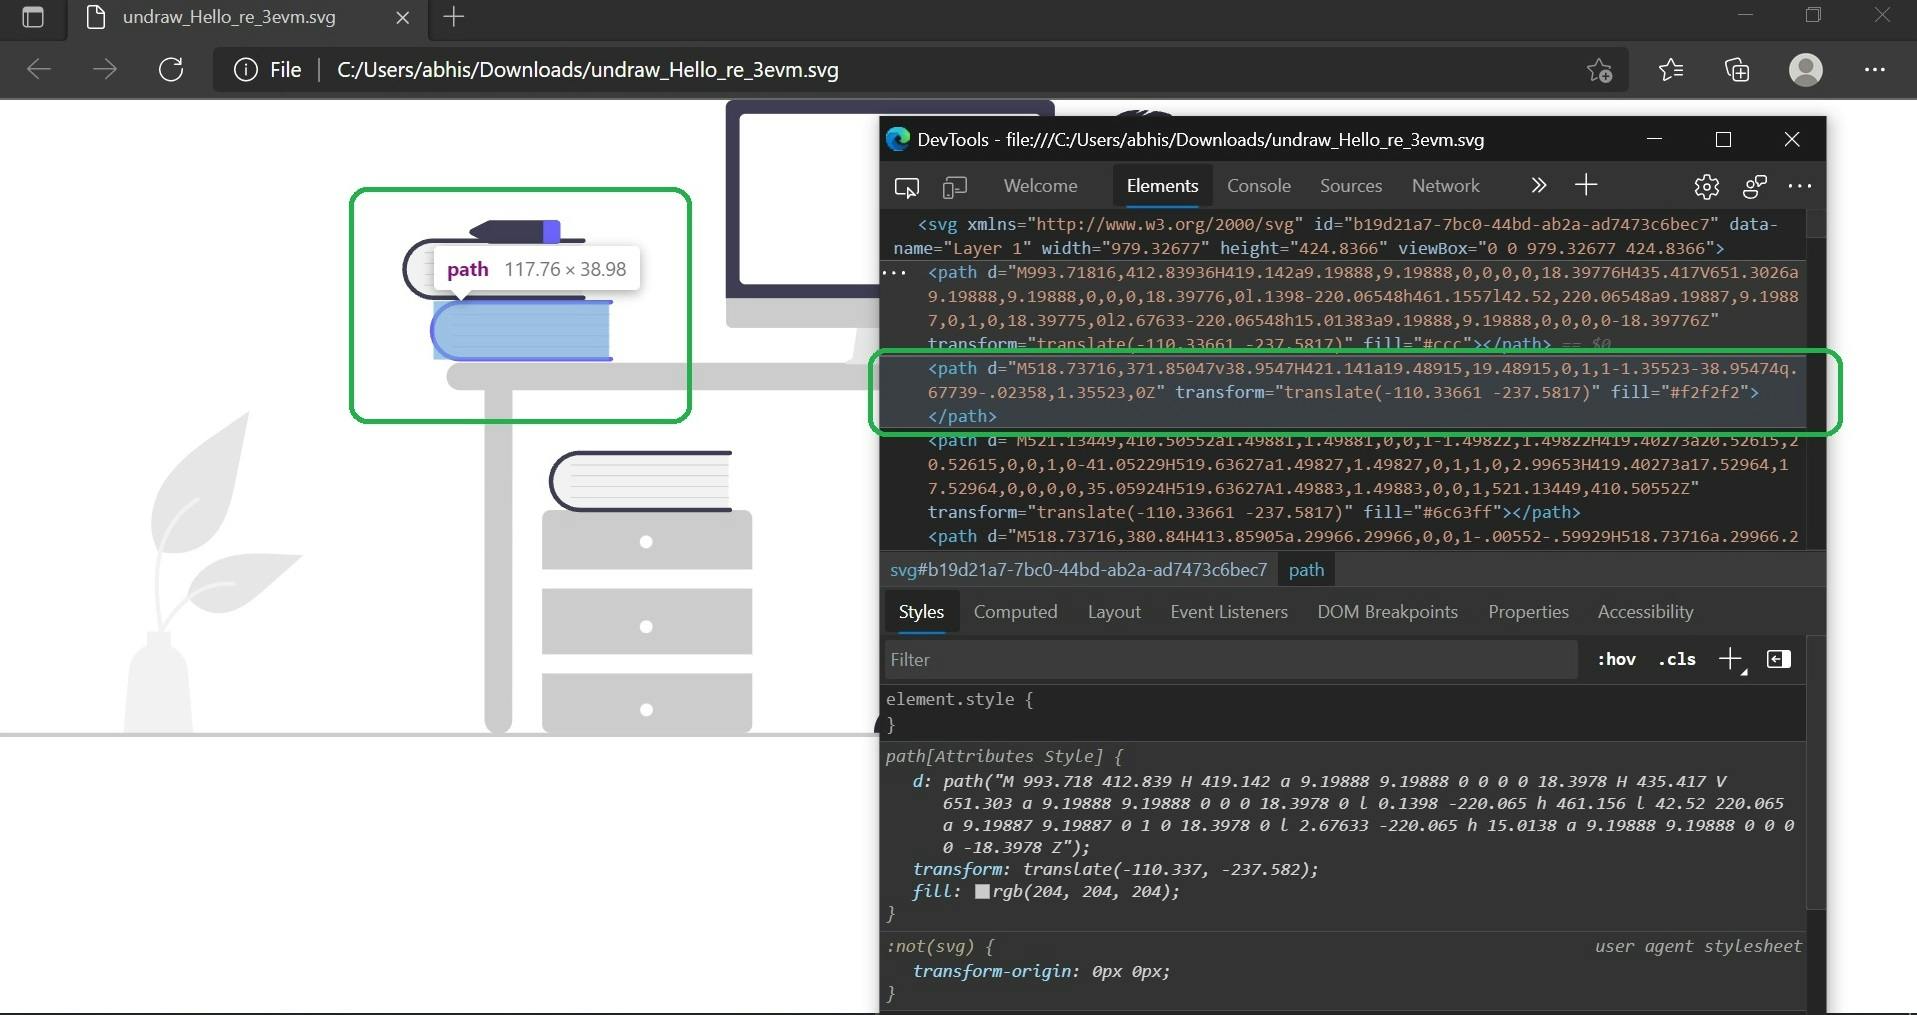 Now hovering over every single component inside a tag will highlight some specific shape or component in the image. As in the example above, we can see the book element get's highlighted when we hover over it's code.
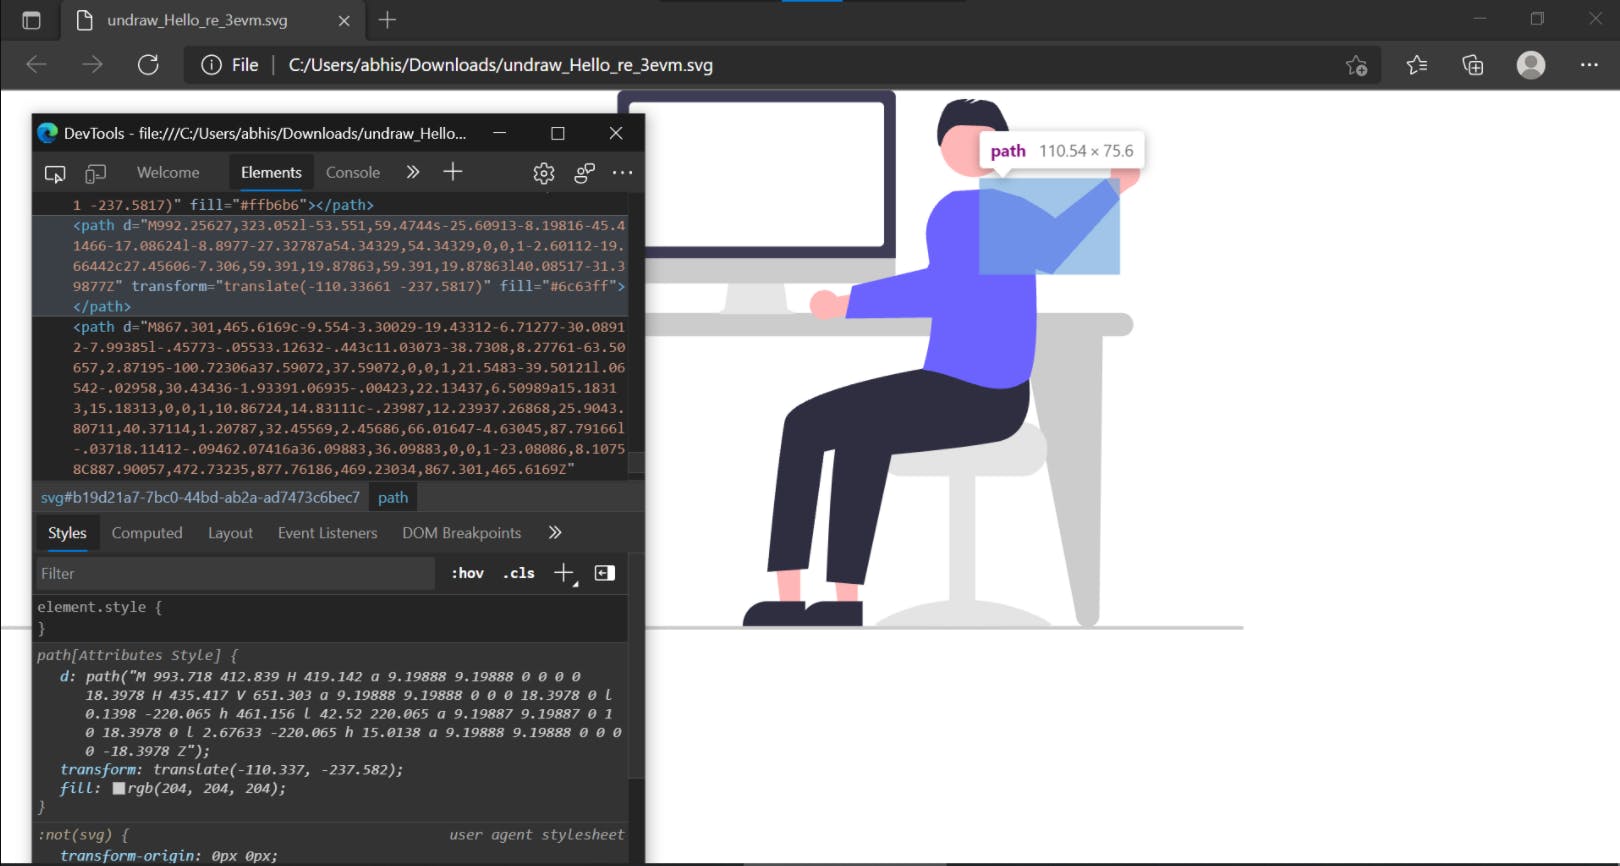
Next step is finding the code of the element you want to animate. Keep scrolling until the element of your interest get's highlighted.
The main trick
Now comes the most important part of it all, we are going to delete this element from this file while creating another image with only this hand component.
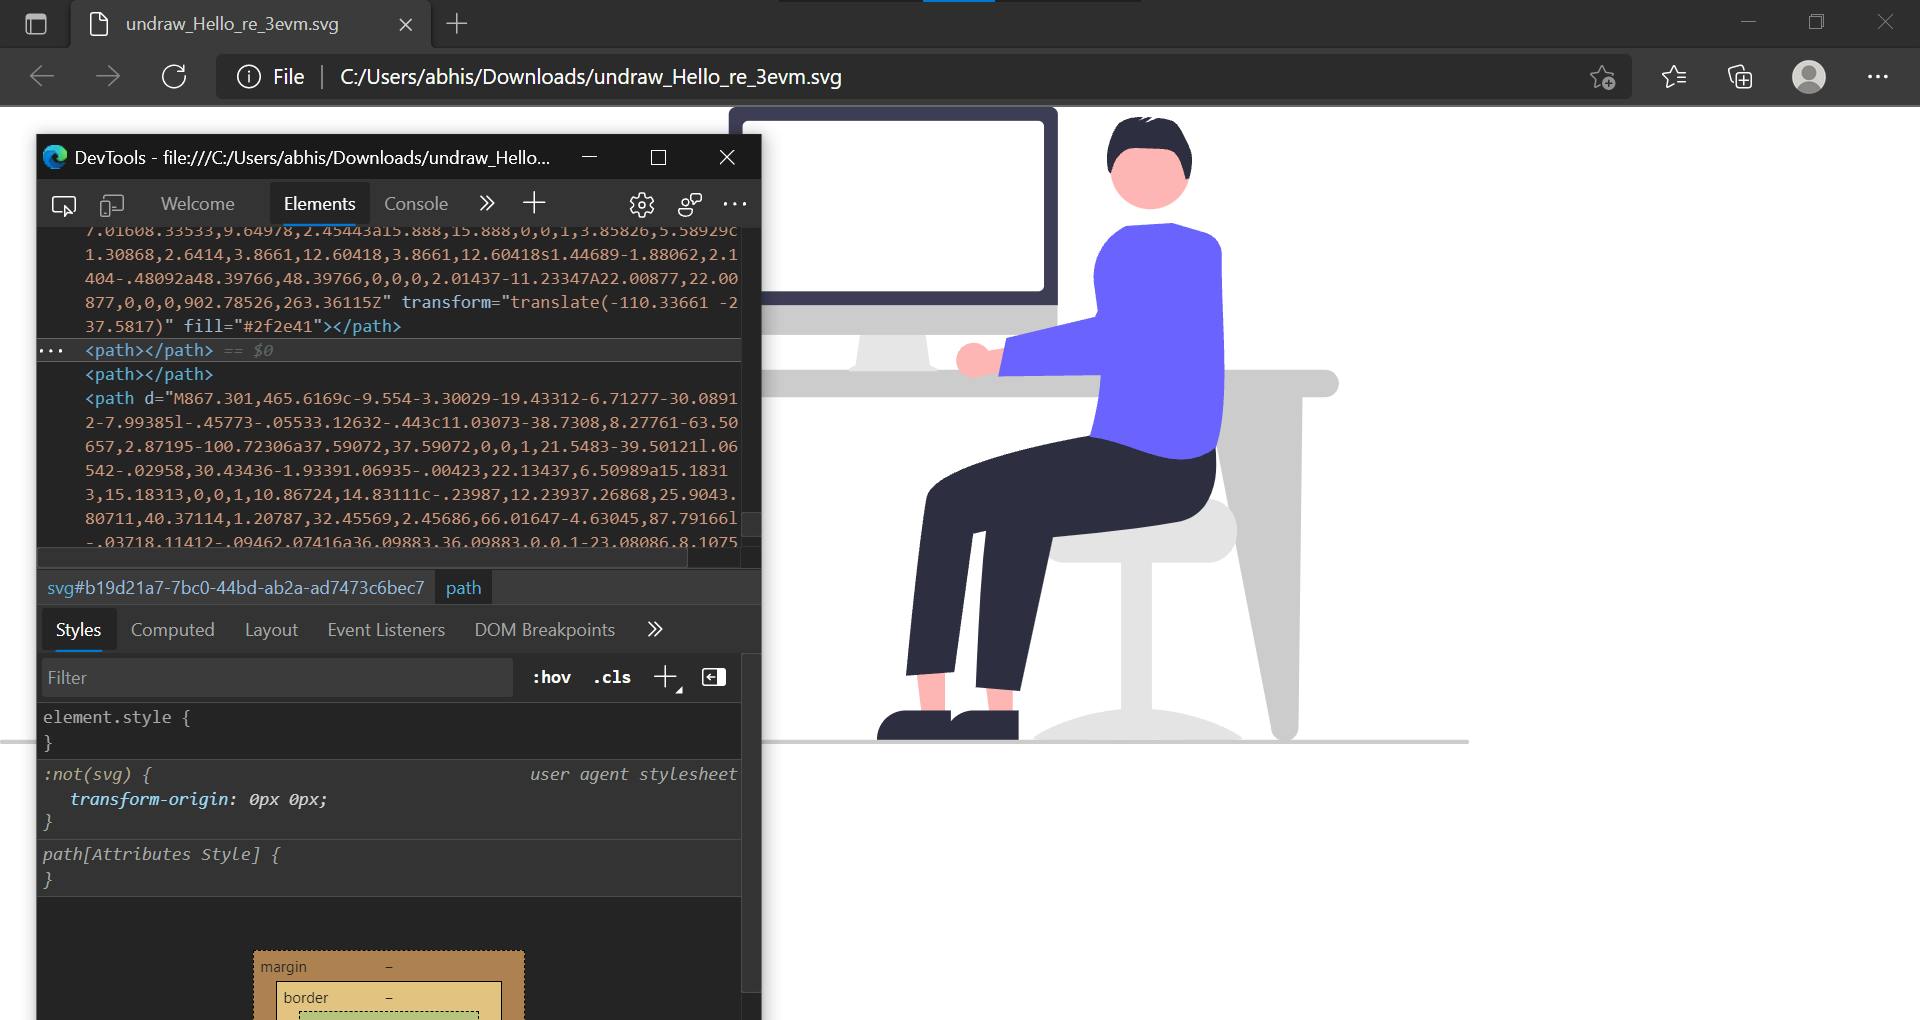 So we will end up with two SVG images, one with all elements except the hand, while another image with just the hand element, at original position.
For creating the second image, just copy the start & end tag element and place the hand element tags in between it.
Now we will have the two images as below.
So we will end up with two SVG images, one with all elements except the hand, while another image with just the hand element, at original position.
For creating the second image, just copy the start & end tag element and place the hand element tags in between it.
Now we will have the two images as below.

What we intend to do now is simply superimpose these two images in our UI and animate the hand image.
Doing it in a React app with Tailwind CSS
As I said earlier, the further process can be done in multiple ways through multiple tools in other frameworks. I'll demonstrate it in a React app using Tailwind CSS, which will keep things dead simple.
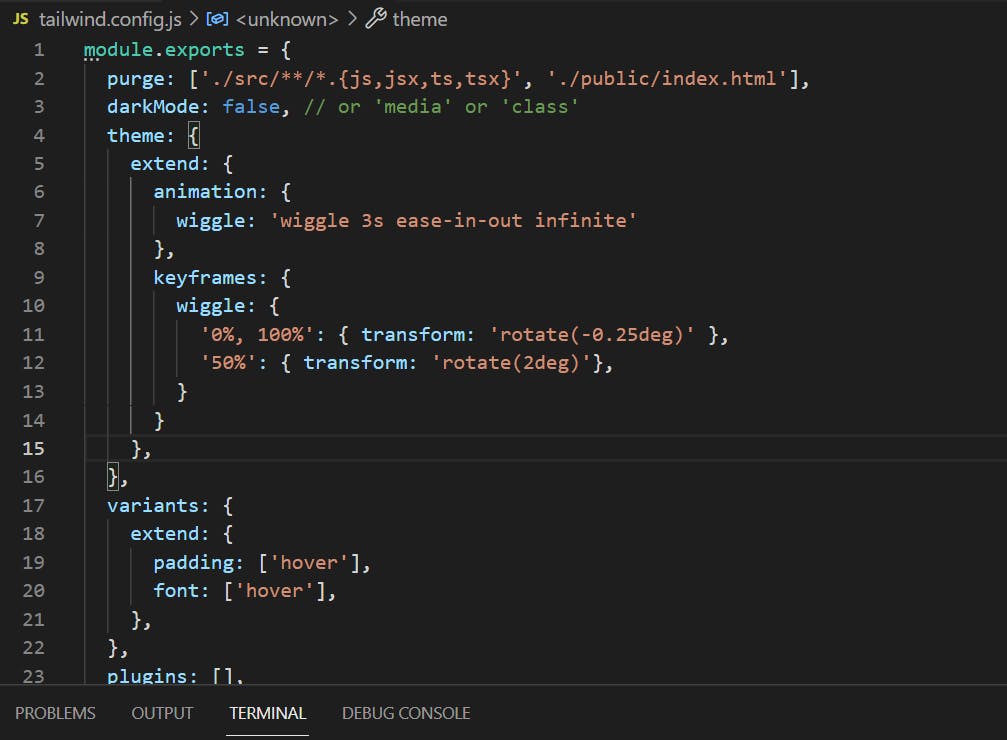
First we need to define a wiggle animation in Tailwind CSS config file, it's pretty simple. Go to tailwind.config.js file and extend the theme part as below. You can look up the Tailwind official docs for further understanding of it. This thing can be achieved by various methods in different environments differently.
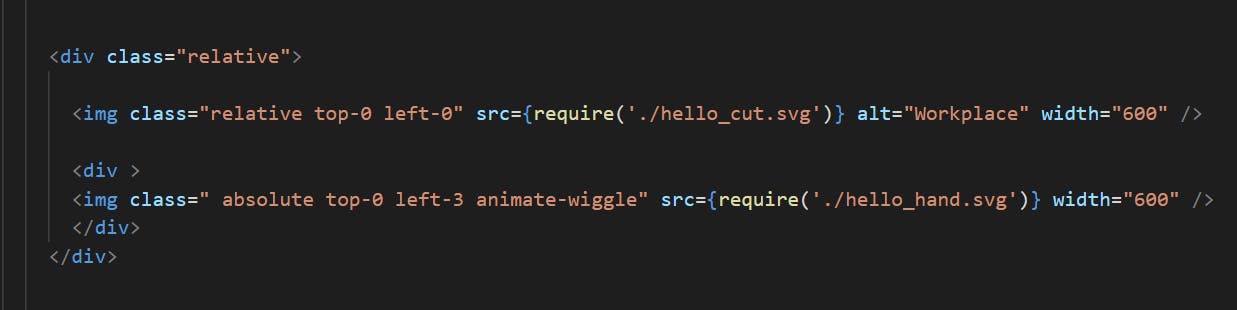
Next we need to use the two images in our React component. For superimposing two images in React, we create a div tag placing one image in it, then creating another div inside and placing the moving image in it. Outer div tag has to be made 'absolute' while inner div is to be made 'relative' and it'll give us the desired result of overlapping.
The final outcome
If you did it all correctly till now, there should be no issues and you can run the app. Below is how our very basic animation looks.

Conclusion
This might not look perfect as of now, the hand movement still doesn't look perfectly natural, but it sure can be achieved with further effort. I won't dig into that as I want to keep this article short and simple, to give you a basic idea of how to do it. Play around with it, that's how the magic happens. Cheers and thank you!